Wholesale Search is a feature in which primarily you can scan a wholesale list. May it be a catalog or manifest from a distributor or a supplier for potentially profitable products to sell on Amazon.
This article shows you how to set up and run a Wholesale Search. By the end of this article, We’ll learn how to:
- Initiate a wholesale scan
- Understand the various functionalities of Wholesale Search
The Wholesale Search page has two views: Advanced and Basic. This article shows you how to use Advanced search. For information about Basic View, click here.
Before we dive deeper, Wholesale Search is a tool which is most ideal to use once you have a relationship with a supplier(s) or distributor(s). Please note that you need to have a list of suppliers or distributors in order to start a scan and we are not able to provide that.
Let's get started with the way to display the Advanced View:
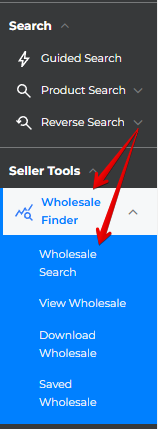
- Click Wholesale Search on the side menu bar.
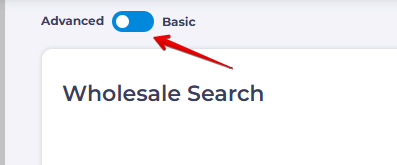
- In the top left corner, click the toggle towards Advanced.
Customizing search settings
The next step is to customize search settings at the top of the Wholesale Search page. There are five settings on the top part of the page:
- UPC Sites and Products Only
- Also Check UPC Products for Image Matches
- Disable Duplicate Checker
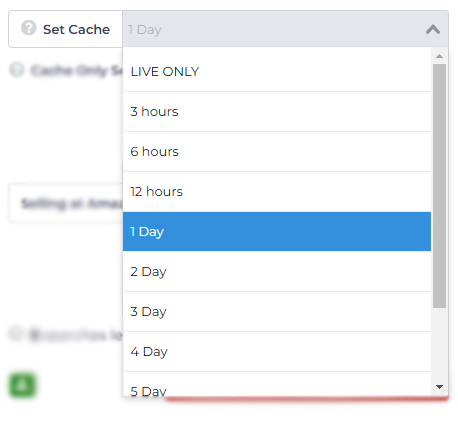
- Set Cache
- Cache Only Search
UPC Sites and Products Only
This switch changes the type of websites and products that appear in the search panel.
- Toggle ON to limit your search to websites and products with a UPC (Universal Product Code) that matches items on Amazon.
- Toggle OFF to include results that match product titles or images on Amazon.
Also Check UPC Products for Image Matches
Toggle ON this switch if you want the search tool to check image matches at Amazon for products missing UPC codes.
Disable Duplicate Checker
Use this to ignore the duplicates checker, which is used by default to skip the products you already have in your View Wholesale page.
Delete Older Version if Duplicate Exist
If you disabled the Duplicate Checker, you’ll notice the Delete Older Version if Duplicate Exist toggle appears.
Use this to remove duplicates, which are already in your View Wholesale page, before adding the fresh version.
Set Cache
Before making a selection here, you need to understand the difference between a Live Search and a Cache Search.
- A Live Search scans company websites looking for current product information. That's a good thing. The downside is that it takes more time than a Cache Search.
- A Cache Search checks data in the Tactical Arbitrage cache memory. Every search run by our users is temporarily stored in cache memory.
Searching the Cache has both advantages and disadvantages, with the primary benefit being that it produces results faster than a live search.
A Cache search has three drawbacks:
- Product data (e.g. prices, availability, etc.) in the cache might be out of date, depending on how long you set the cache to, and how recently live results were extracted from there.
- The list of products that meet your search filter thresholds might be incomplete.
- Product promotions are generally captured during a live search. Relying on cache only searches could result in missing out on special deals.
Cache Only Search
- Toggle ON this switch and your search will look only at data in the cache memory. Be sure to select a time period on the Set Cache drop-down menu.
- Toggle OFF this switch and you'll run a live search. That means Tactical Arbitrage checks current data on company websites.
Sourcing From
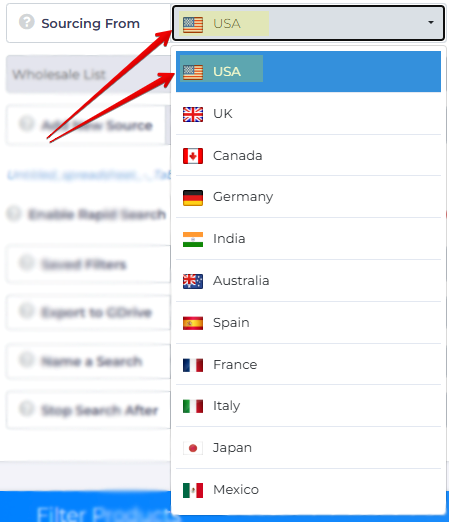
Select a country from which you'll source products. That means you're telling the platform the source country of the products you are looking at checking.
- Click the box beside Sourcing From.
- Select a country.
Generally, you'd select your base country, but that's not required. You're free to select any country from the drop-down menu.
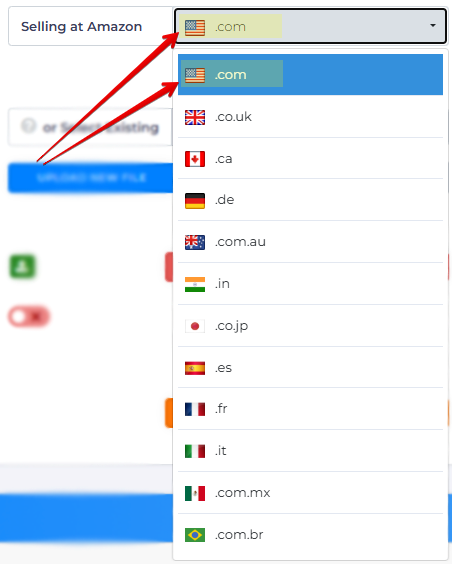
Selling at Amazon
Selling at Amazon is where you decide where you'll sell products.
If the Sourcing From and Selling At countries are different, you'll need to pay attention to currency conversations and other matters later on.
Entering Source Data
Now it's time to begin the fun work. You're going to input the sources you want to search.
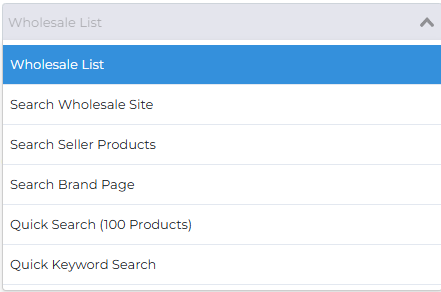
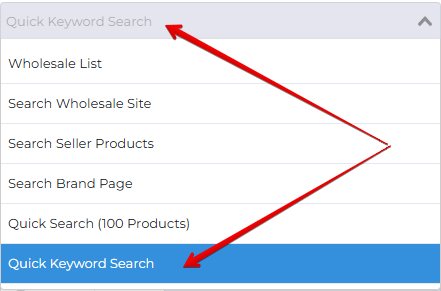
There are six input options available on a drop-down menu:
- Wholesale List
- Search Wholesale Site
- Search Seller Products
- Search Brand Page
- Quick Search (100 products)
- Quick Keyword Search
Each option is described below.
Wholesale List
A Wholesale List or Manifest is a document with a list of products for sale. The list includes product titles, prices, UPCs and, if you are lucky, ASINs.
The structure of the file is simple. At a minimum, you need one column each for titles, UPCs, and prices. You can add a fourth column of ASINs. Your file can be a csv, xls, or xlsx.
The image below shows an example of the file structure.
Uploading a File
To upload a file:
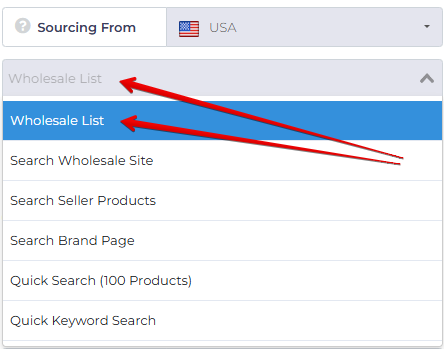
- Click the field below Sourcing From.
- Select Wholesale List.
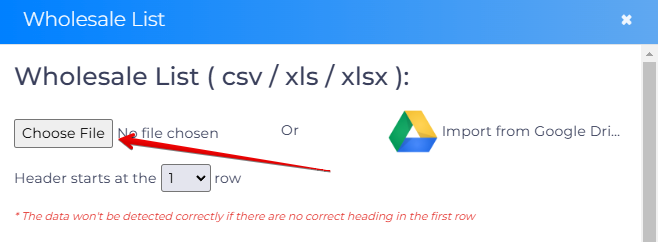
- Click Upload New File.
- Click Choose File.
- Select a file on your computer and then click Open.
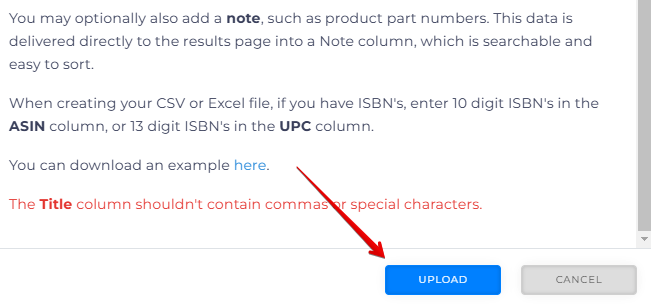
- Click Upload.
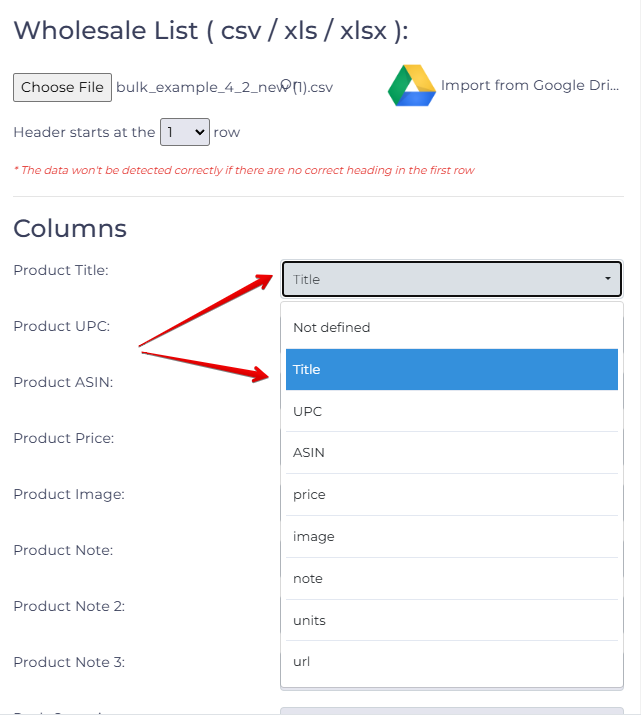
Before the file uploads, the system asks you to check the names of the columns. Default file names are auto-filled, but you have to check them.
To change the name of a column, click a field. Then, select a name on the menu.
Once all columns have been selected accordingly, click Upload.
After uploading, the file name appears:
Add a New Source
A wholesaler identifier is very useful for sorting later, especially after many searches.
This is optional and you can leave this blank, however it's good practice to insert, for example a domain, or a business name or some other way you like to identify them.
In short, you label your source, or select an existing one you already labeled here before from a previous scan, before proceeding.
Search Wholesale Site
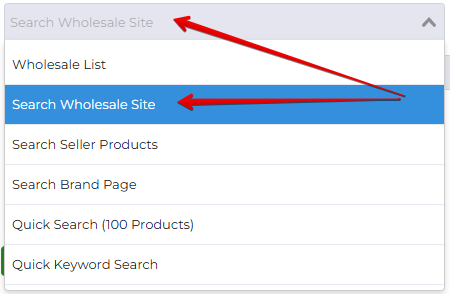
This is a premium level search tool. It's available to subscribers of tacticalbucket.com. Subscribers get access to wholesale websites which can be scanned on Tactical Arbitrage.
To open this tool:
- Click the field below Sourcing From.
- Select Search Wholesale Site.
- Select a website from the Tactical Bucket database.
Search Seller Products
This allows you to enter the Seller ID of another Amazon seller to return Amazon data on the products found in their storefront.
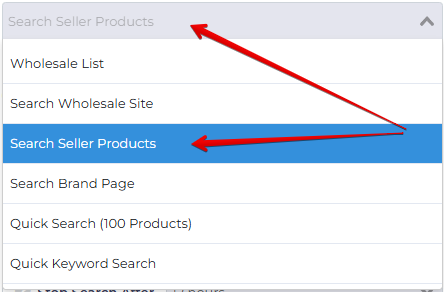
If you would like to scan an Amazon seller's entire storefront. You can select Search Seller Products on the dropdown menu shown below.
Input the seller ID in the designated field and you’re set to start the scan.
The Seller ID is the series of numbers and letters that start with the letter "A" and can be found after "seller=" in the URL of the Storefront.
Scanning Seller ID is a shared feature (the only feature in Tactical Arbitrage like it) so there can sometimes be a short wait before it is available.
Since it is a shared feature, there is also an 8 scans maximum, and 1 gets refreshed every 3 hours.
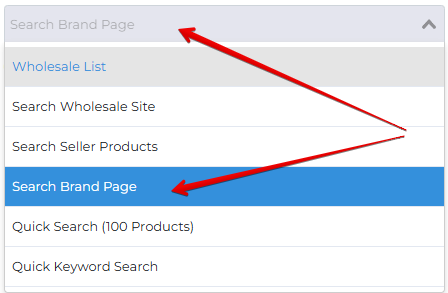
Search Brand Page
If you’d like to search by brand, select search brand page on the dropdown menu.
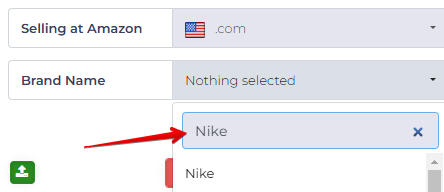
Then click on the Brand name field:
Type in the name of the brand like so:
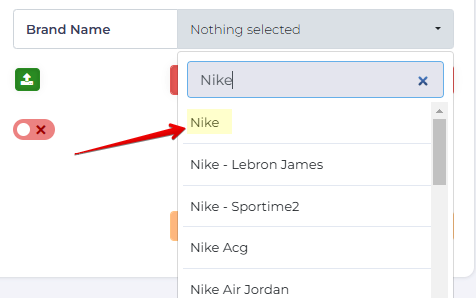
Select the brand from the list:
Once selected, you’re ready to initiate your scan.
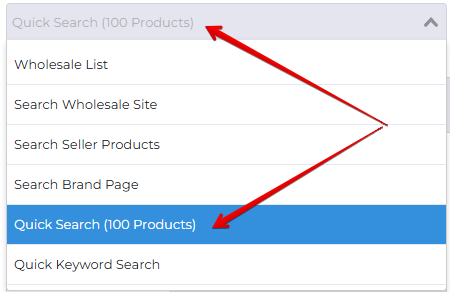
Quick Search (100 Products)
Here, you can search by manually entering ASINs, UPCs, or ISBNs. You can add up to 100 ASINs, UPCs, or ISBNs.
- Select Quick Search on the drop-down menu.
- Enter an ASIN, UPC, or ISBN in the search field.
- For multiple entries, insert a comma between numbers
Quick Keyword Search
If you want to Search by any keyword or product name, Quick Keyword Search is your choice. Tactical Arbitrage will get the matching ASINs from Amazon and get the deals from supported stores for you.
To initiate the search:
- Select Quick Keyword Search on the drop-down menu.
- Enter a product keyword.
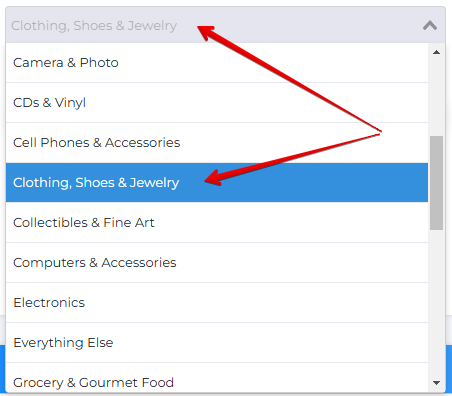
- Click the All categories box. A drop-down menu will then display.
- Select an Amazon product category from the list
Using Filters
By now you have completed two important steps:
- Selected basic search parameters (e.g. source country and live vs cache search)
- Entered search data (e.g. codes or scans)
The next step is to enter your search filters.
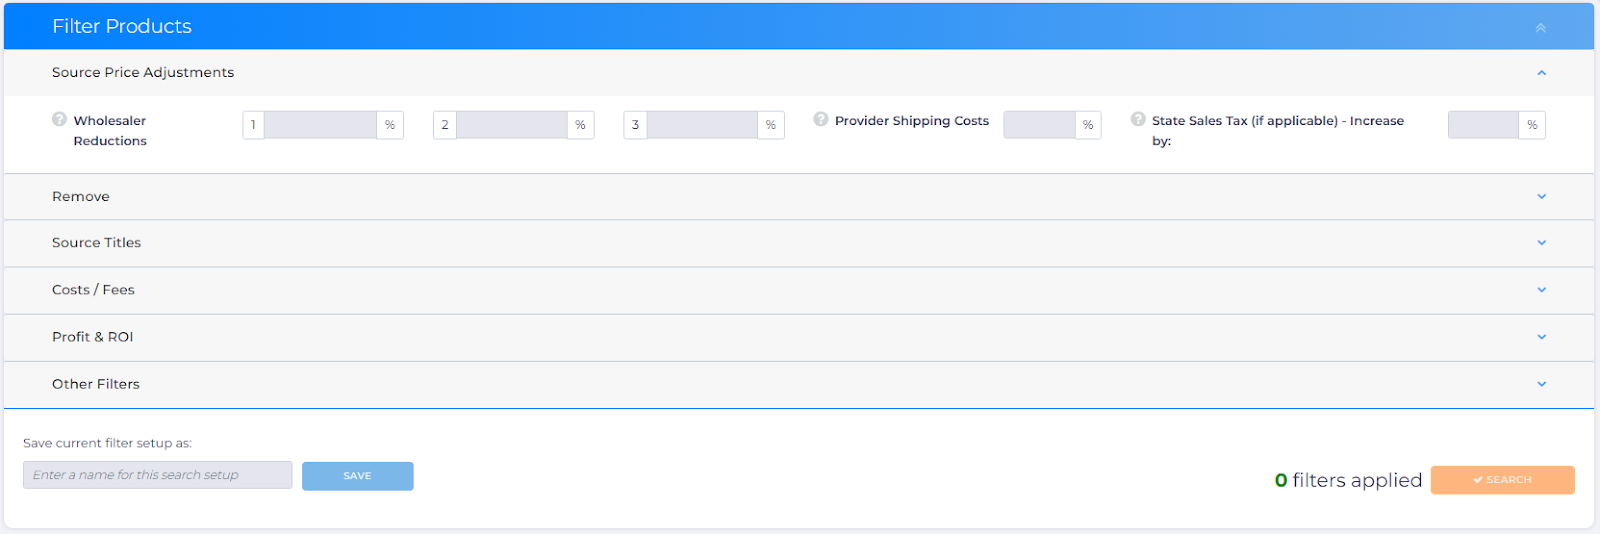
Scroll down to the bottom of the Wholesale Search page and you'll find Filter Products. This is where you refine searches and find profitable products. All the filters offer potential benefits.
For more information, see the following guides:
- Source Price Adjustments
- Wholesale Search Remove Filter
- Source Titles
- Costs / Fees
- Profit & ROI
- Other Filters
What’s Next?
What’s Next?
What’s Next?
What’s Next?
You might want to check a series of articles below to maximize your sourcing strategy:
- Saving Filters and Searching
- Analyze your search results using View Results
- Use the Search History feature.


