Wholesale Search is a feature in which primarily you can scan a wholesale list. May it be a catalog or manifest from a distributor or a supplier for potentially profitable products to sell on Amazon.
This article shows you how to source products using the Wholesale Search Basic View page. By the end of this article, you will know how to:
- Input source resources
- Use filters
- Launch a search and use the Search History
The Wholesale Search page offers two views: Advanced and Basic. This article focuses on using the Basic search. To learn about the Advanced View, check out Wholesale Advanced article.
Let's get started with the way to display the Basic View:
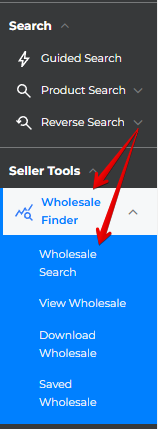
- Click Wholesale Search on the side menu bar.
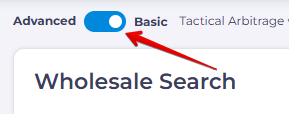
- In the top left corner, click the toggle towards Basic.
Selecting a Country
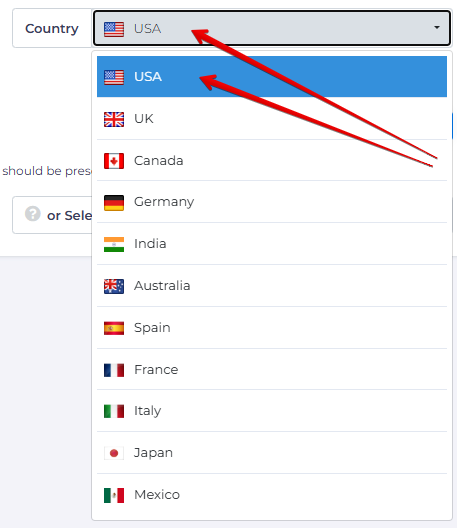
Once you're in Basic View, you would like to make sure that you select the region you’re going to sell the products on . To do so:
- Click the Country Dropdown Menu.
- Select the Country.
Selecting a Source
The first step is to input a manifest/wholesale list, your source of products to scan.
The Manifest or Wholesale List
The first option is to upload a manifest. That's a document with a list of products for sale. The list includes product titles, prices, UPCs and, if you are lucky, ASINs.
The structure of the file is simple. At a minimum, you need one column each for titles, UPCs, and prices. You can add a fourth column of ASINs. Your file can be a csv, xls, or xlsx.
The image below shows an example of the file structure.
Uploading a File
To upload the file:
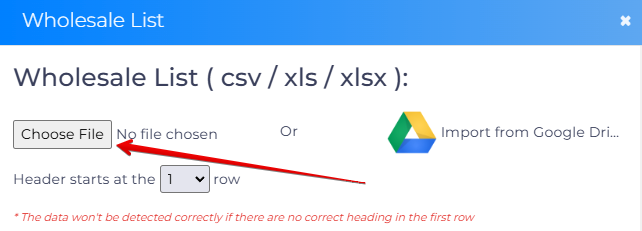
- Click Upload New File.
- Select a file on your computer and then click Open.
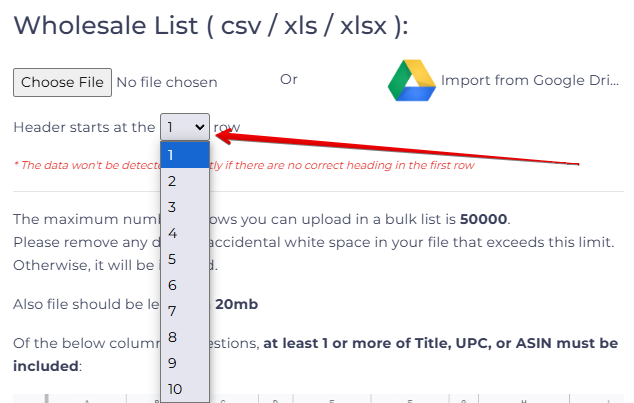
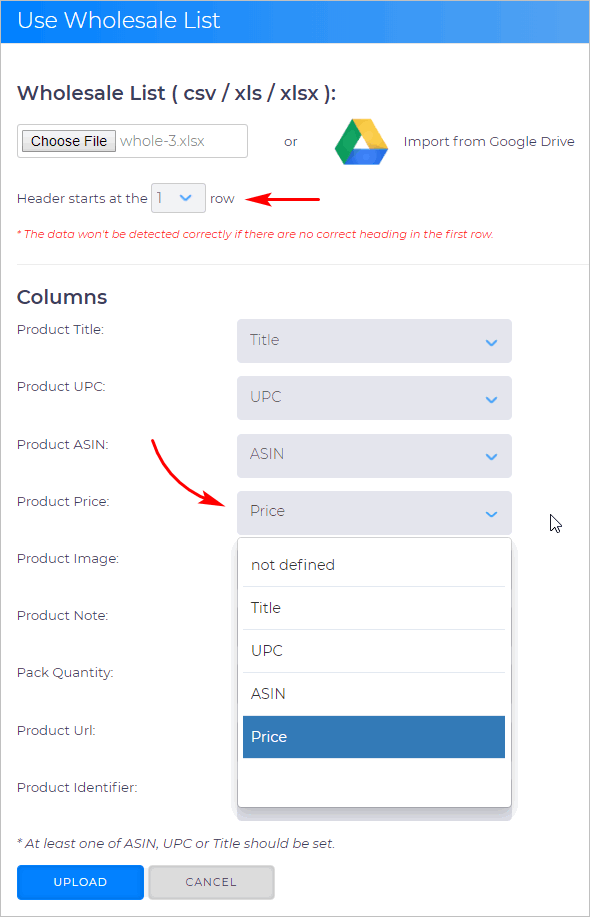
- Select the row where the header is located within the file.
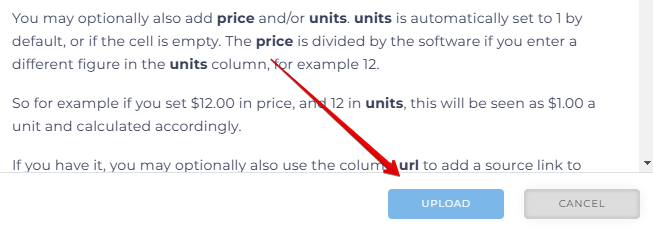
- Click Upload.
Check Column Names
Before the file uploads, the system asks you to check the names of the columns. Default file names are auto-filled, but you have to check them.
To change the name of a column:
- Click a field.
- Select a name on the menu.
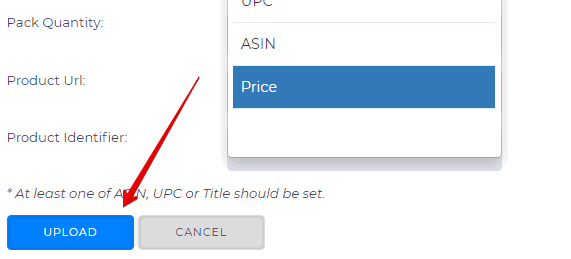
- Click Upload.
Add a New Source
A wholesaler identifier is very useful for sorting later, especially after many searches.
This is optional and you can leave this blank, however it's good practice to insert, for example a domain, or a business name or some other way you like to identify them.
In short, you label your source, or select an existing one you already labeled here before from a previous scan, before proceeding.
Using Basic Filters
Within the Basic Filters section you can find all of the filtering options available to use in Basic View.
Please note that not all Wholesale Filters are available within Basic View. For All filtering options available for Wholesale Search, you will need to switch to Advanced View.
Cost data
The next step is to enter cost data.
Tactical Arbitrage uses these figures to estimate your profit per sale and gross return on investment (ROI).
For most new users, it's good to enter a number in all cost fields. These costs will give you a more realistic ROI estimate.
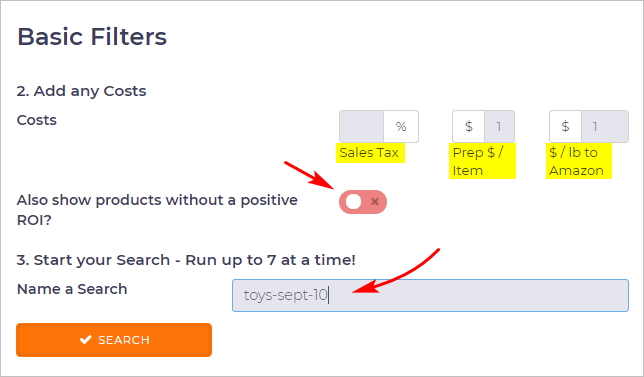
- If you live in a jurisdiction that charges Sales Tax (or your business doesn't enjoy tax-exempt status), enter a figure in the Sales Tax Field, or leave as blank if your tax is 0%.
- The Prep $ / Item field is your cost or your prep houses' cost to prepare a product for shipping to the Amazon facility you work with.
- The $ / lb to Amazon field estimates shipping costs to Amazon based on weight. It's a difficult number to capture accurately for new users. With experience, you develop a keen sense of this cost for your product range
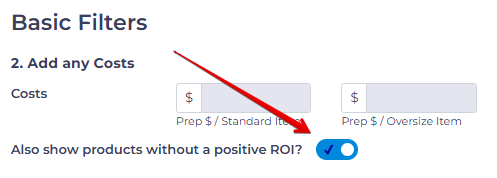
Without Positive ROI
In the default OFF (orange) position, this switch omits products that do not show a potentially positive ROI.
Toggle ON the switch to include products in the search results which do not generate a positive ROI.
Running a Search
Then, the final step is to start a search:
- Click the field beside Name a Search and enter a unique title.
- Click the Search button.
What’s Next?
Keep an eye on the progress on your Search History page, and when you’re ready, dive into your treasure trove of results on the View Wholesale page.
If you would like to explore the Wholesale Search's Advanced View, click here.


