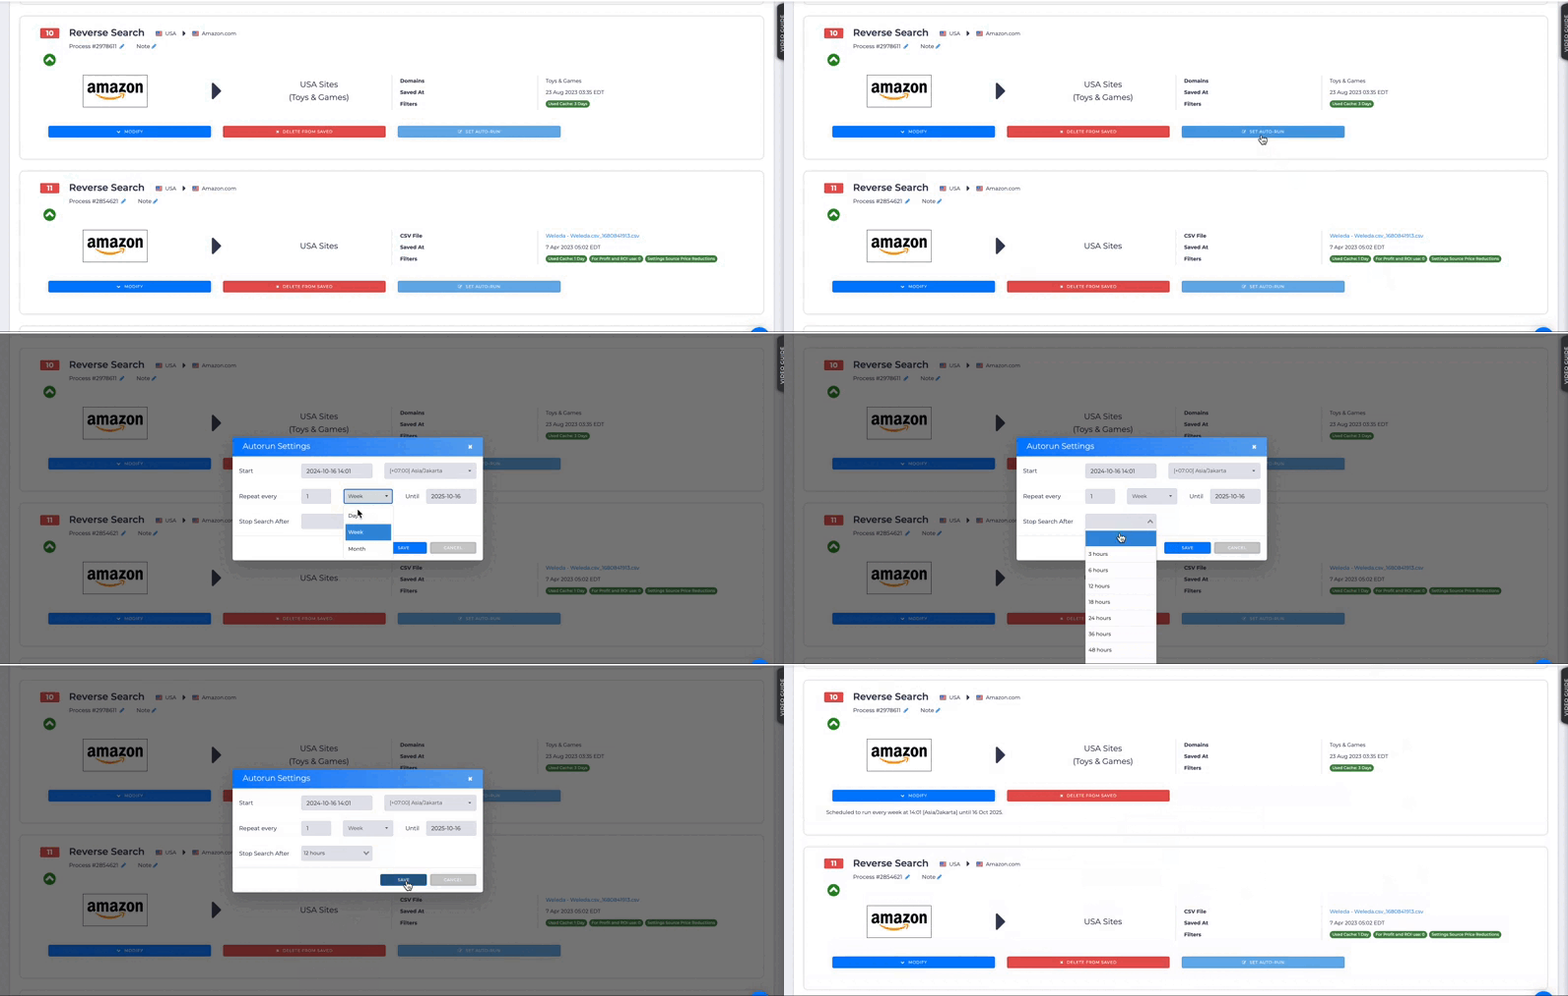
Once a search starts, you might wonder what steps to take next or how to keep track of your progress.
This article will guide you in using Search History, a powerful tool in Tactical Arbitrage to keep your searches organized. With it, you can monitor active scans, review completed ones, save searches, and set them to auto-run. Ensuring you stay on top of both ongoing and past searches.
Locating the Search History
There are several ways to locate the Search History tool.
1. Top-right corner of your page
2. Whenever you initiate a scan

Understanding the Search History
The Search History page has five key tabs to help you manage your scans efficiently:
1. In Progress
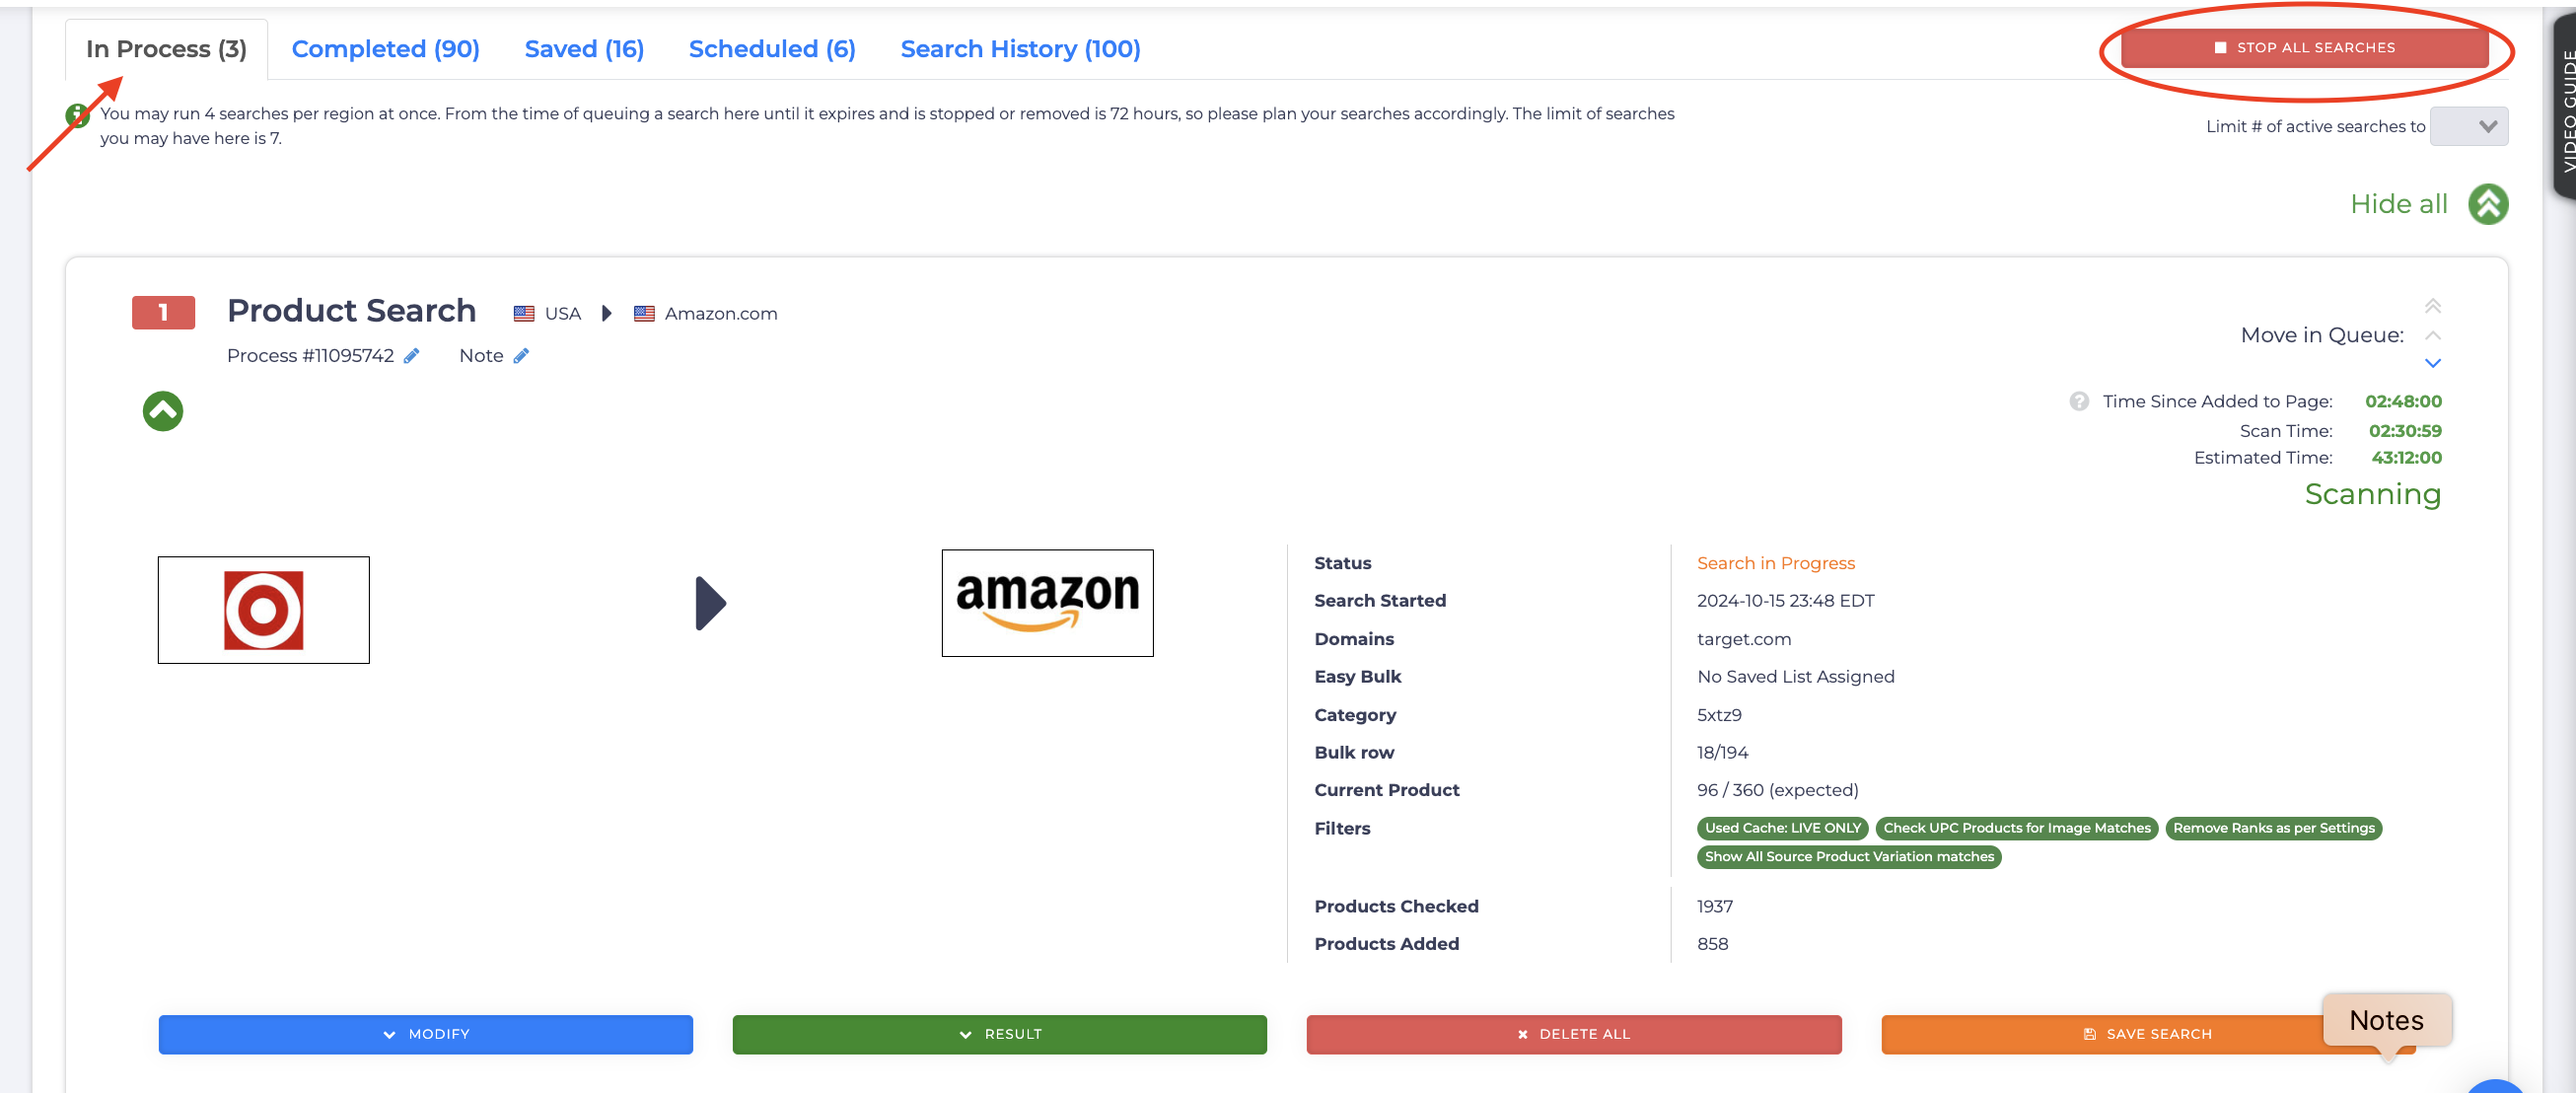
This tab displays all ongoing, paused, or queued scans. For each scan, you can view key details such as the filters applied, the number of products checked, and how many were added to your results.
Within the In Progress section, you’ll find four key buttons that give you control over your ongoing searches:
- Modify
Use this button to Pause or Stop a search, Edit and Re-run the scan, and Update search filters
- Results
This button offers 3 options: View Result to check your scan data, Download All to save all the results for offline access and Watch Logs to see a record of what happened to each item in the search.
- Delete All
Use this button to delete your search.
- Save Search
Click this button to save your work.
2. Completed
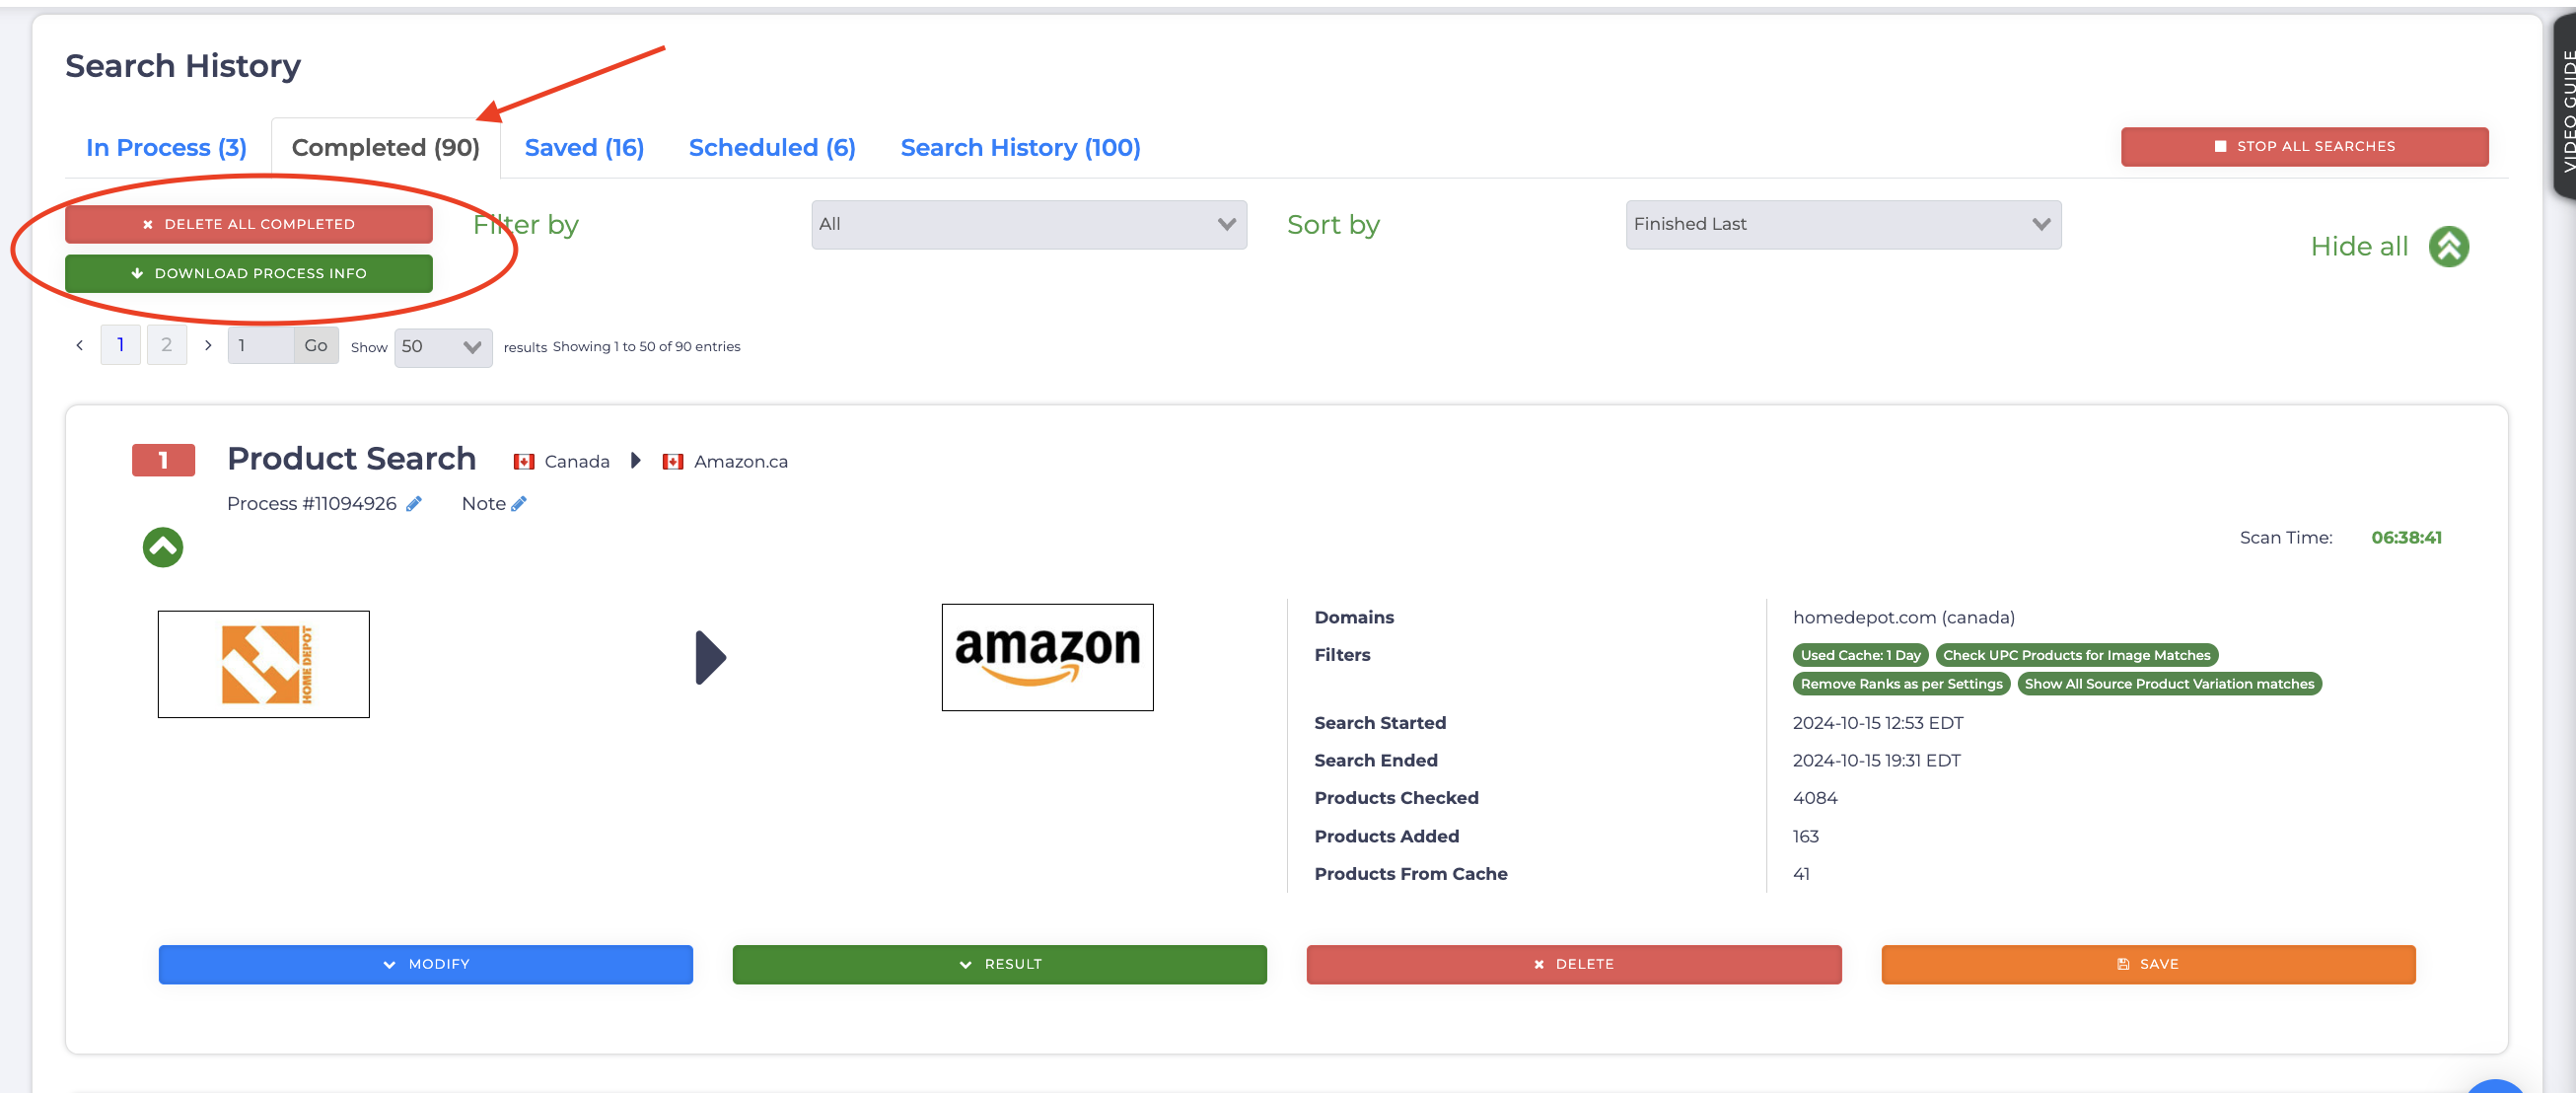 On this page, you’ll find your completed scans. While it offers similar options to the In Progress tab, there are some key differences:
- Modify
Instead of modifying the scan, you can re-run or continue a completed scan from this section.
- Watch Logs under the Result option
Here, you can click on Filter Analysis to see how many products were skipped and the reasons for it.
3. Saved
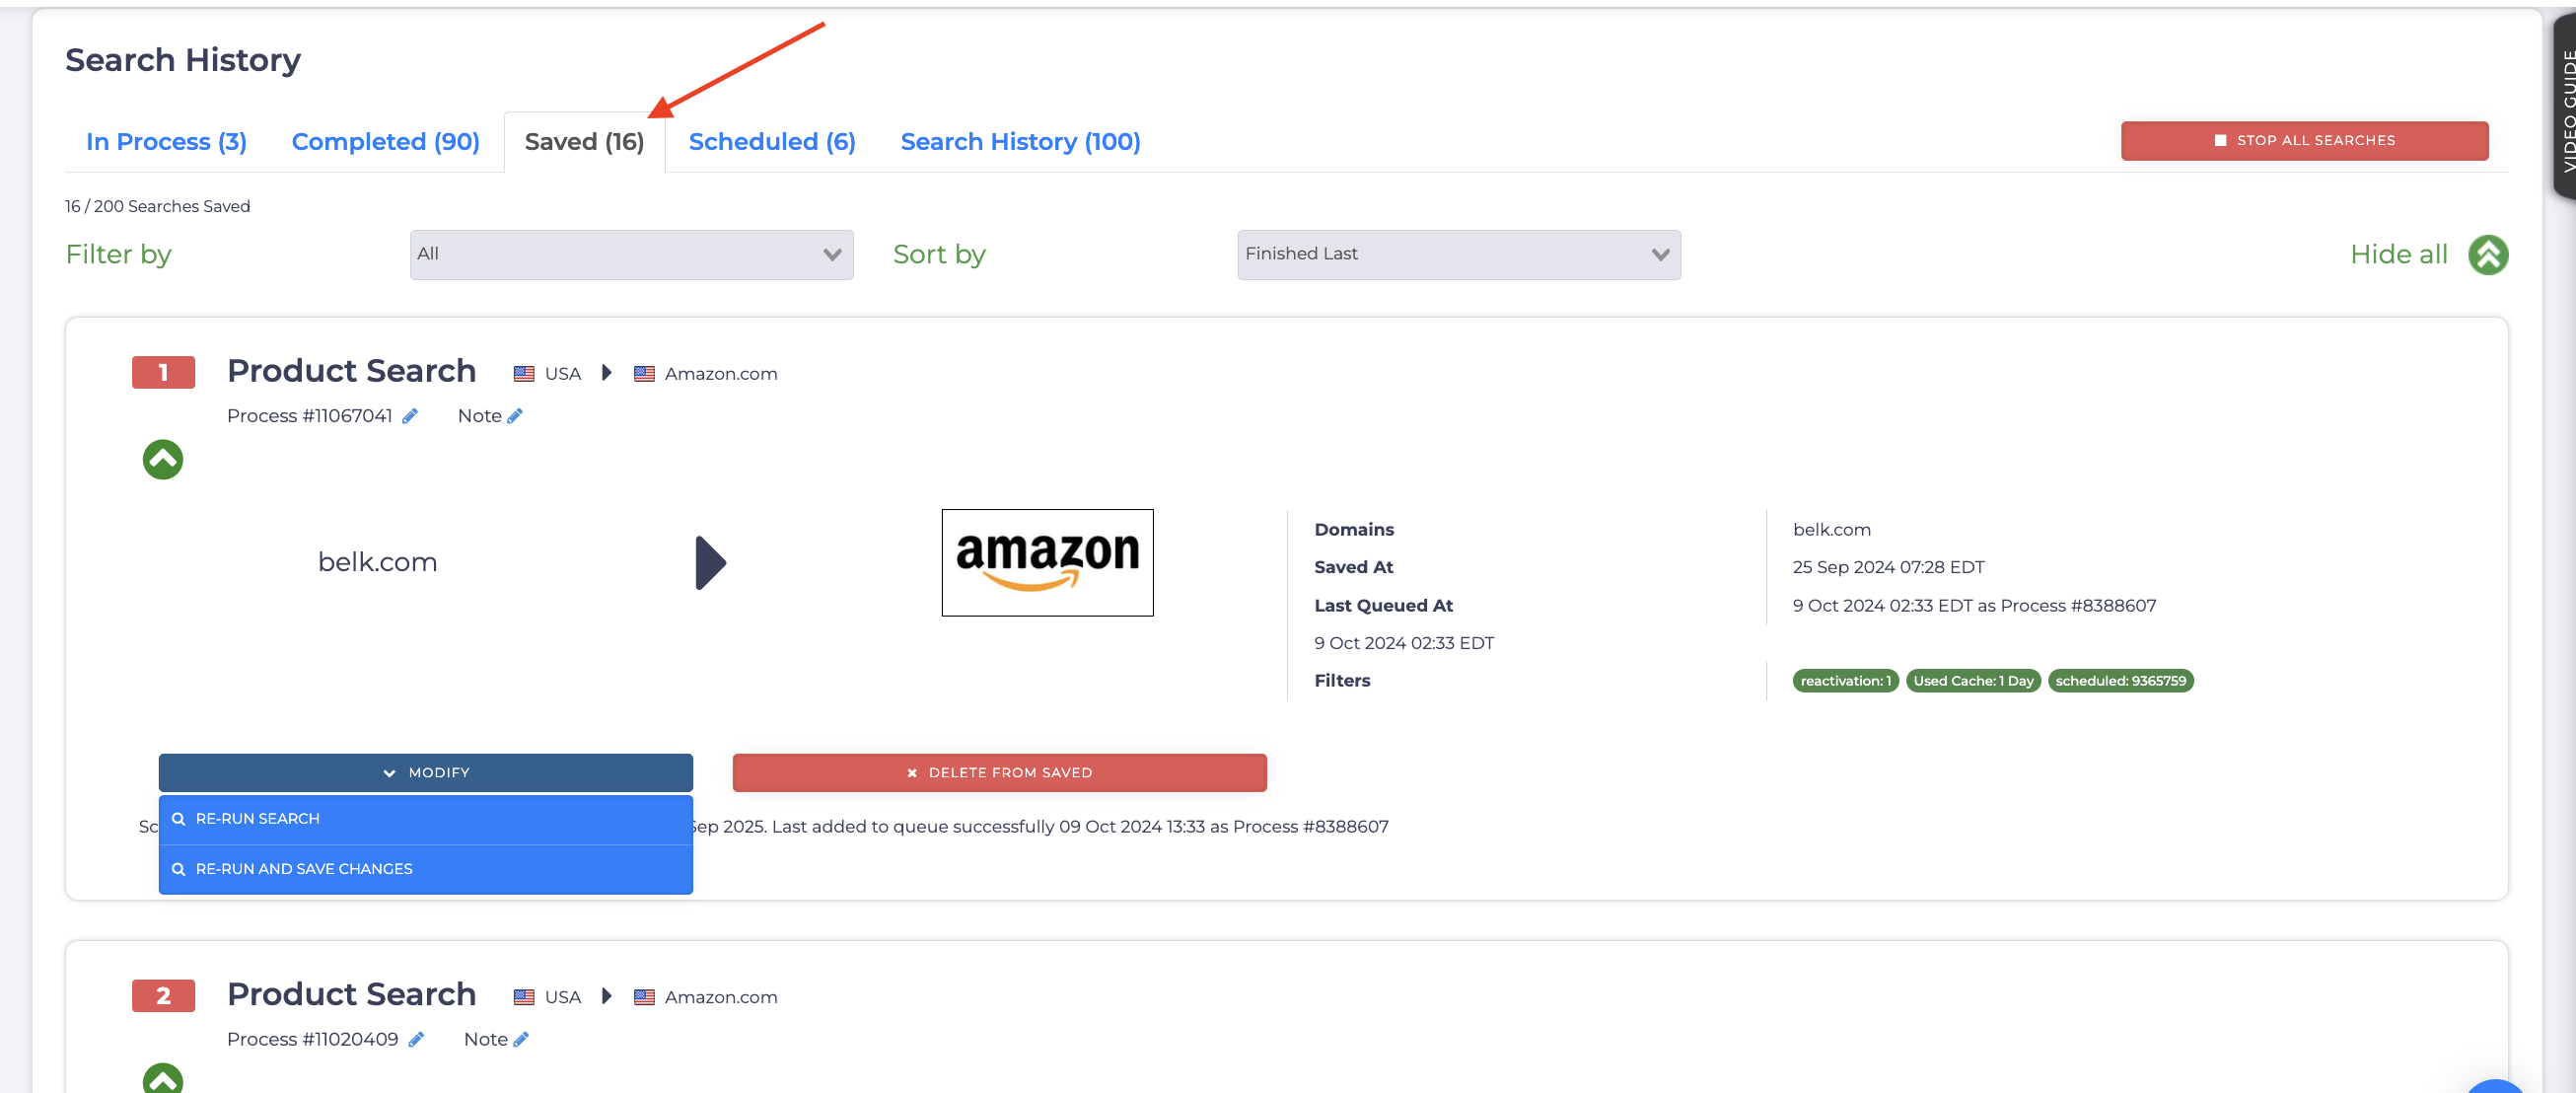
This tab contains scans you’ve chosen to keep for future reference. Note that you can only save scans within 48 hours of completion. After that, you’ll need to re-run or start a new search.
You can also initiate Auto Run from this tab. Once activated, the process will appear in your Scheduled tab, where you can manage its settings.
4. Scheduled
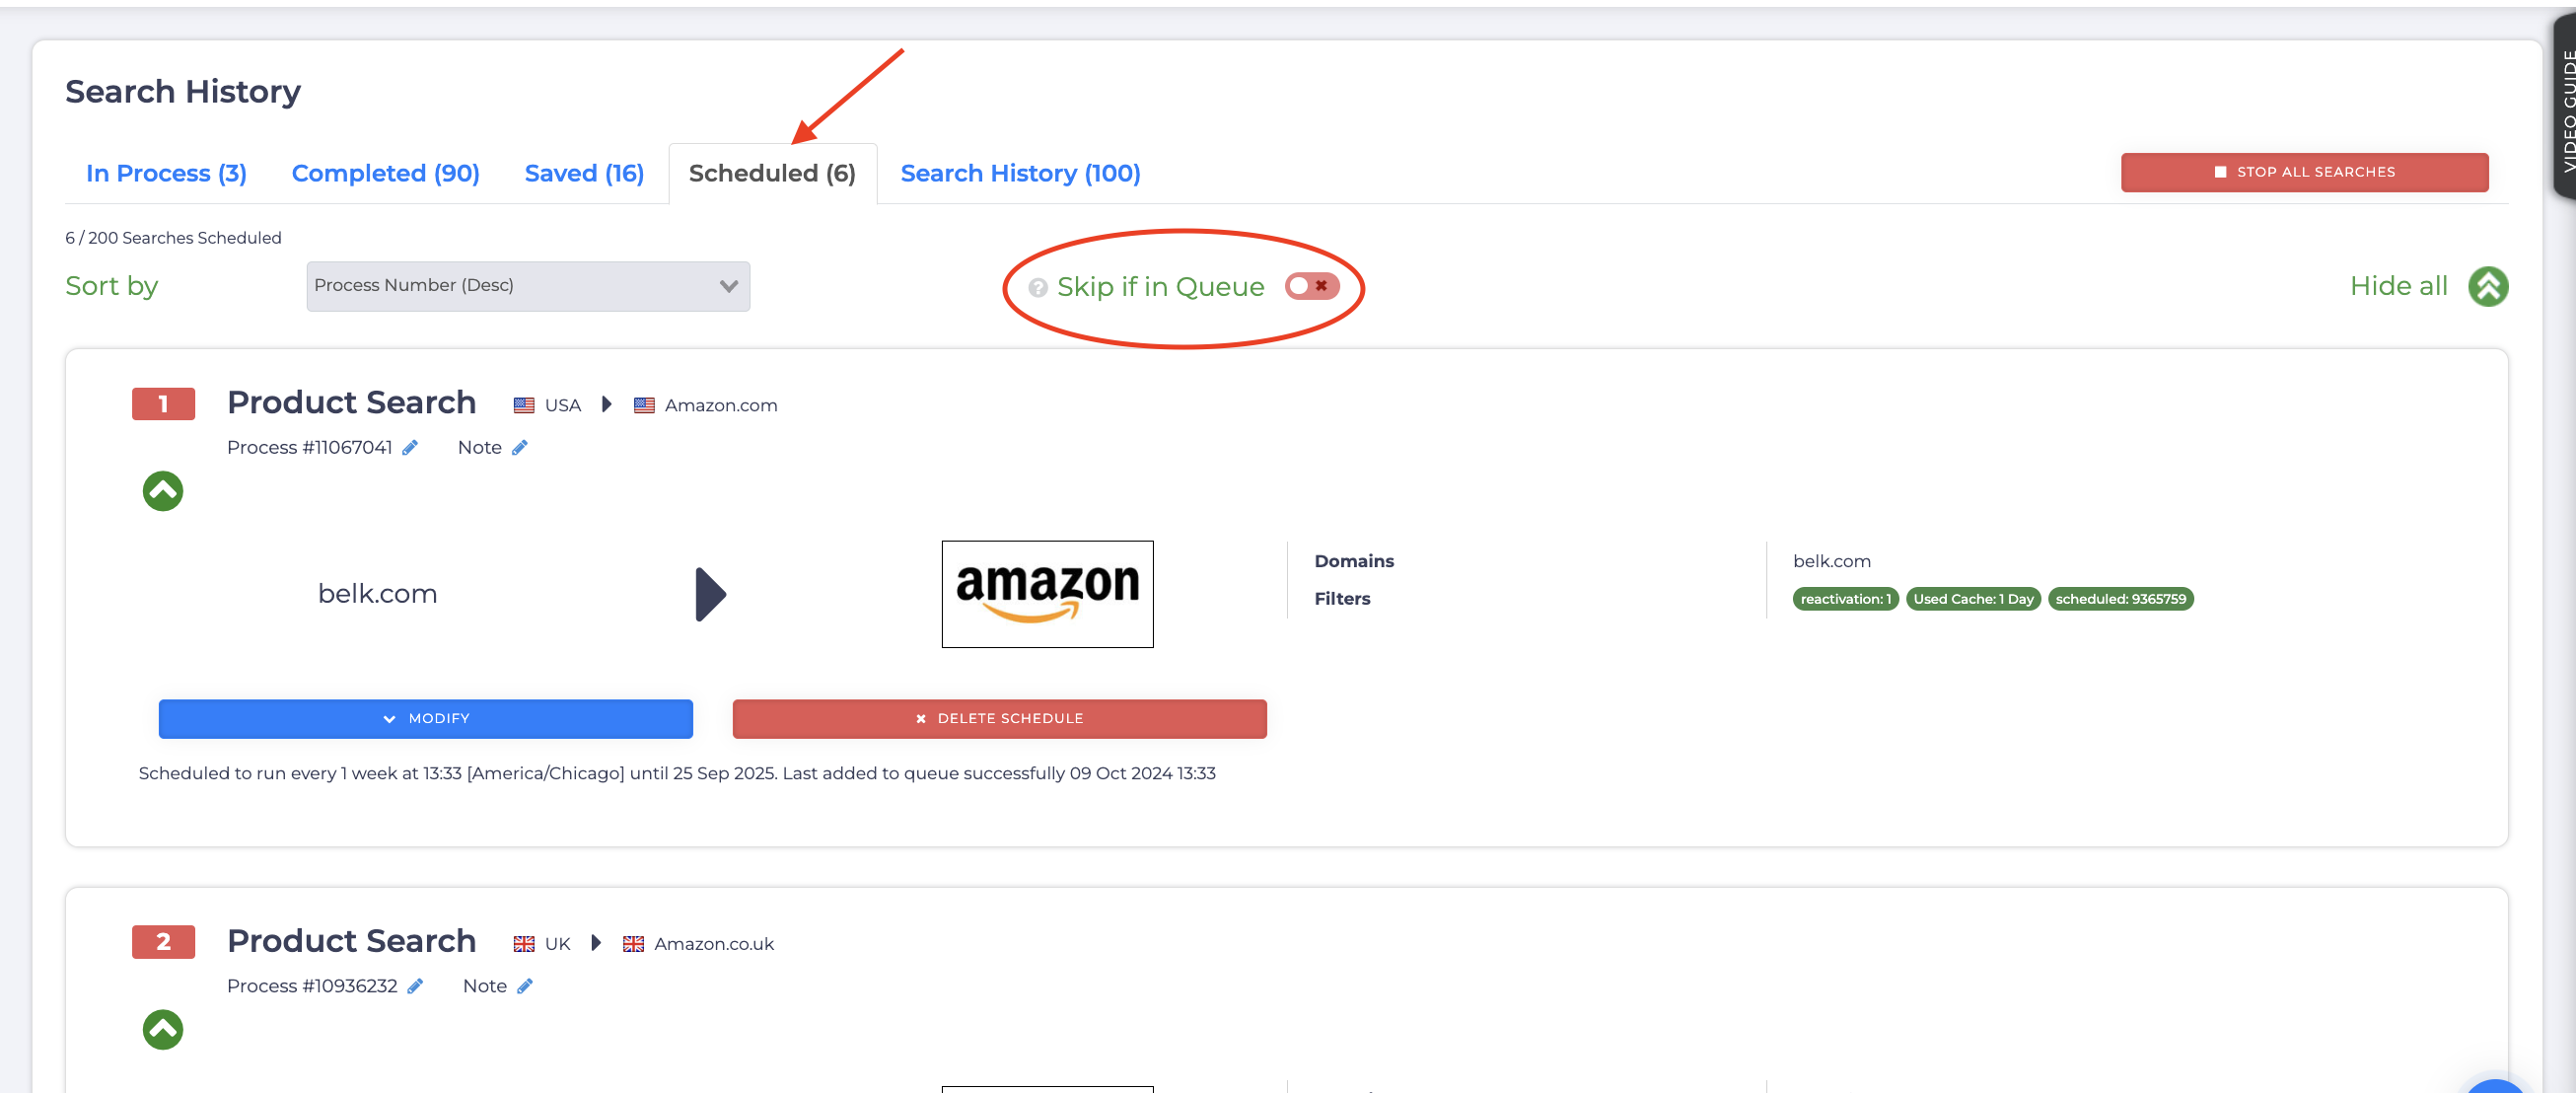
This tab displays scans you’ve scheduled to run later.
A unique option in this tab is Skip if in Queue, when enabled, it prevents a scheduled search from starting if the previous one is still waiting in the queue.
5. Search History
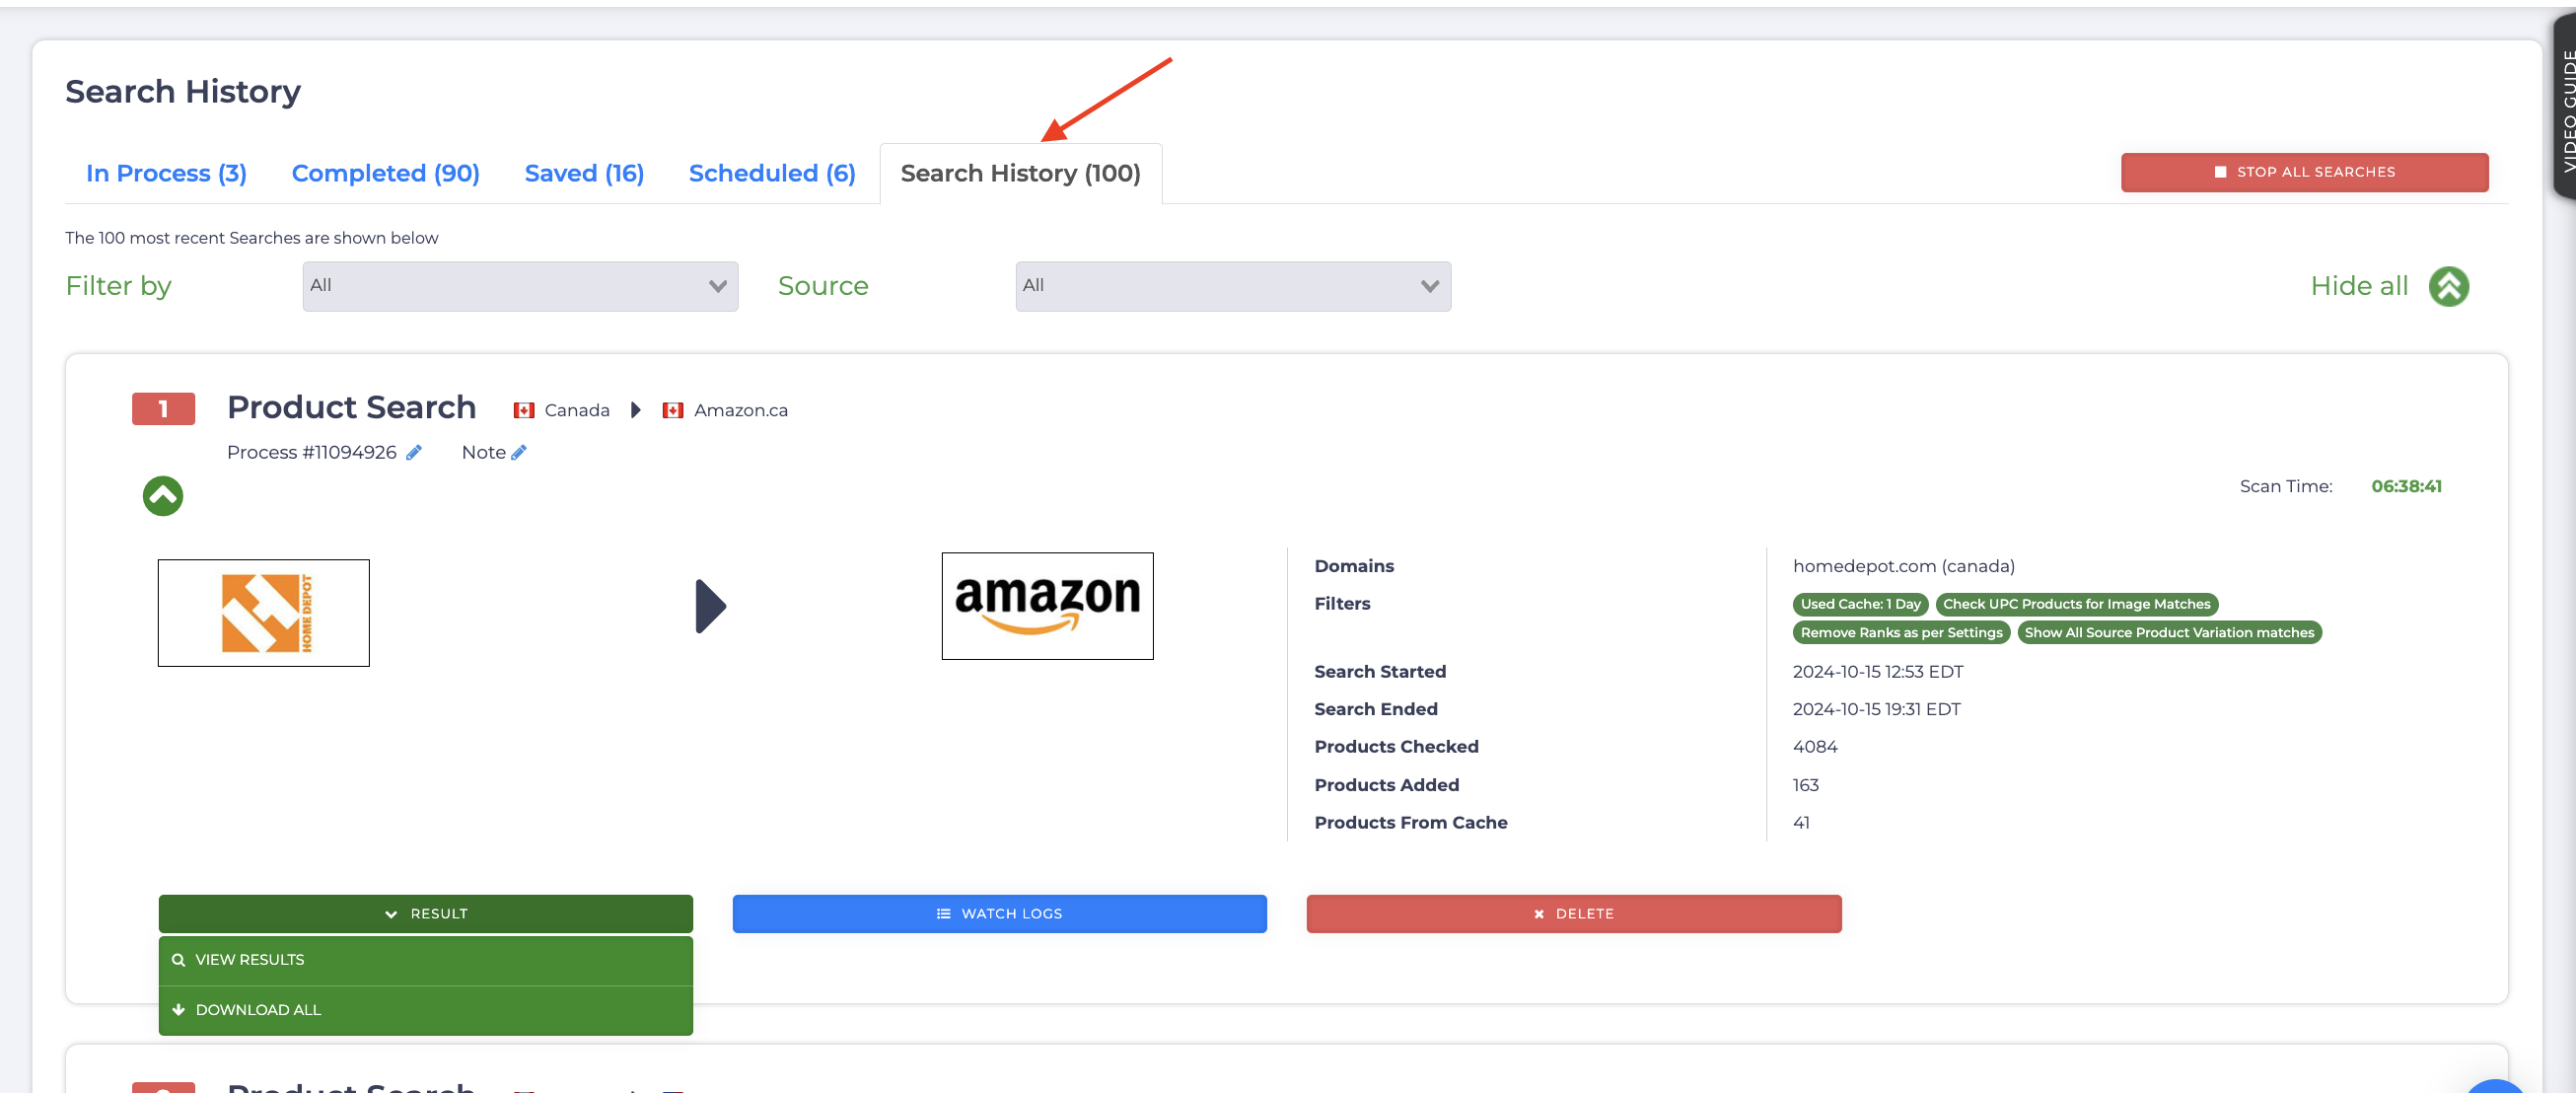
This tab stores the 100 most recent scans. It provides two main actions: View Results to review results and Download All for offline access, similar to the options in the In Process tab. You can also use Watch Logs to open the scan log or Delete to remove a scan from the history.
Once the 100-scan limit is reached, the oldest scan is automatically replaced by the newest one to keep the list current.
What's Next?
Learn how to analyze your result data by reading the View Results Overview article.


