
In this article, we’ll guide you through using the row toolbar in the View Results page of Tactical Arbitrage. This toolbar can be found in both Basic and Advanced Views.
The row toolbar offers a set of practical tools for organizing and refining your search results. With it, you can select items, save items to a saved folder, update data, delete items, mark mismatches, temporarily skip items, and even add notes to individual products.
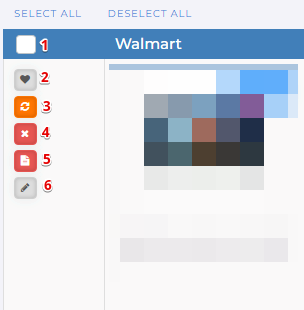
Select Box
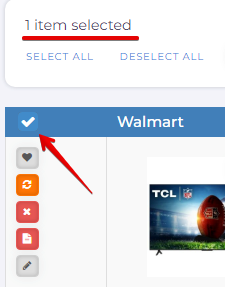
There's a white check box on the top of the row that you can use to select an item. If you check the box on one or more rows, a Select Box displays at the top of the page.

The number of checked items displayed on the Select Box.
Click this button to select every item in the table on this page. Any other action you take (e.g. update or delete) affects the selected items. Clicking Deselect All to uncheck every item and it will hide the the toolbar.
Save to Move Item
You can move or copy selected rows to a different folder. The heart-shaped button is a Save button.
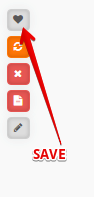
To save an item:
- Click the heart button on the item you want to save.
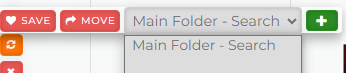
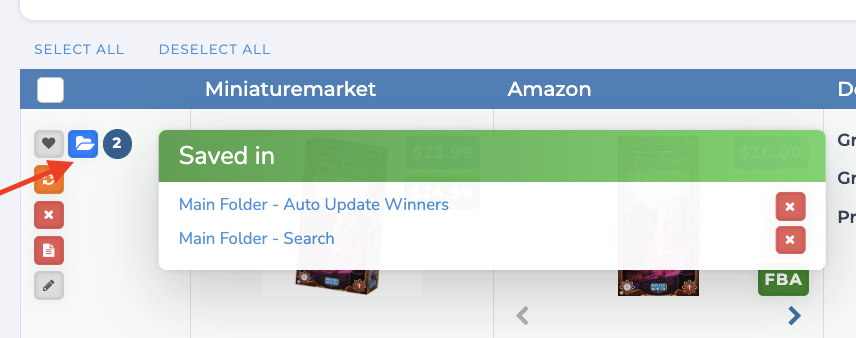
- A panel shows where the item is saved or allows you to choose a folder.
- To Save a Copy: Select a folder from the dropdown, then click Save. The item remains in View Results.
- To Move the Item: Select a folder from the dropdown, then click Move. The item is removed from View Results and saved in the folder.
- To create a new folder, click the green [+] button.
When an item is already saved, a blue envelope icon will appear. This shows which folder the item is saved in.
Update Data
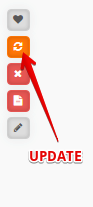
You can use the row toolbar to update data and get the latest stock and pricing information for this product.
Click the orange Update button to refresh all data. To update specific information, like the source price only, you can update the data from Global Settings at the top of the View Results page.
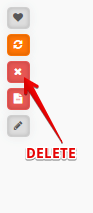
Delete
Use the Delete button to remove selected items. Simply click on the X red button to delete an item.
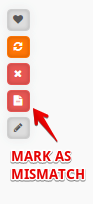
Mark Mismatched
Click Mark As Mismatched to keep the items in the system but flag the source product as a mismatch for the Amazon product. The row is removed from the table and added to Analysis (left sidebar) Your Matches.
In Advanced View, you’ll find the Mismatch button in as below photo:
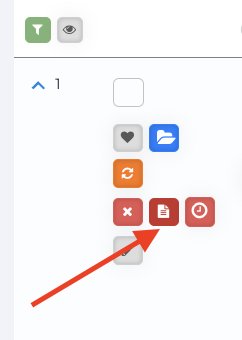
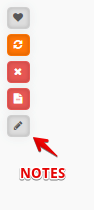
Using the Notes Button
Use this button to keep notes about the product.
- Click the Notes button. A notes panel displays the name of the product you are looking at.
- Write a note and click Save.
- The pencil will turn green to indicate a note is there, and the note will also appear in the Note column and become searchable by filters.

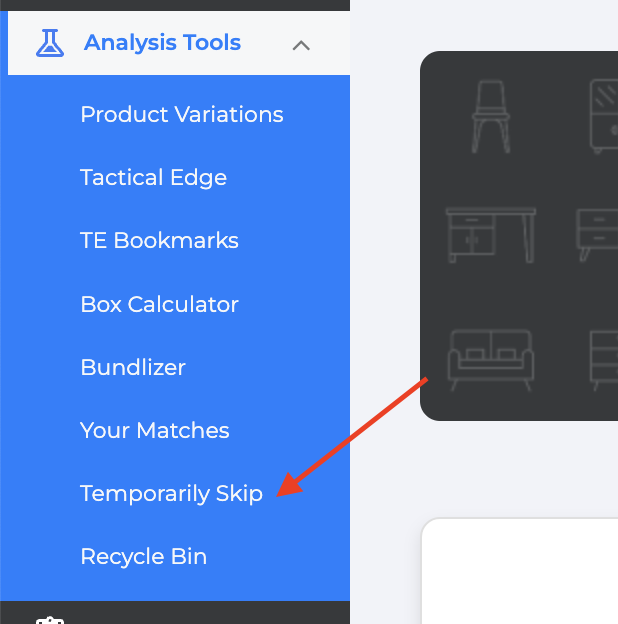
Temporarily Skip (Only Available in Advanced View)
In Advanced View, you can temporarily remove items from your View Results page for a set period.
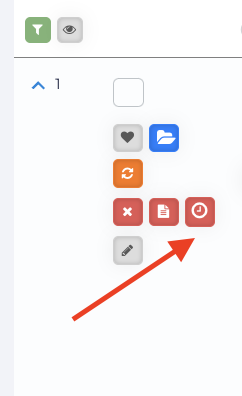
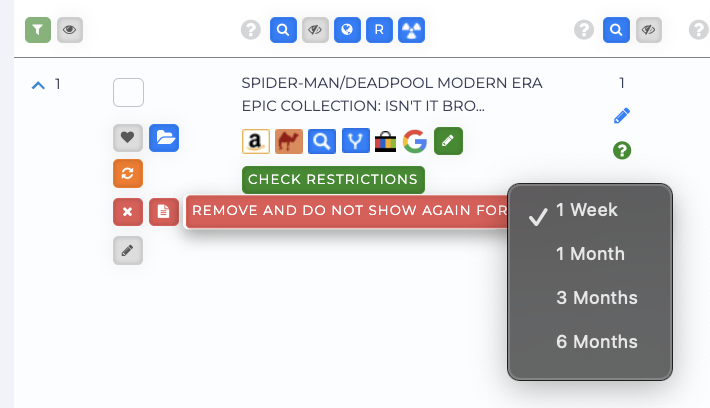
These items will then be accessible under Analysis in the left sidebar, in the Temporarily Skip section.
What’s Next?
Learn more about managing Global Setting in your View Results Basic View page.
Looking to enhance your skills with the View Results: Advanced View? Check out this article to learn more.