In this article, we’ll explore how to make the most of these powerful features to supercharge your product searches with Advanced View.
Product Search Advanced View provides a comprehensive suite of filters and options to maximize your efficiency and profitability and it is great for users who:
- Want more control over their sourcing strategies
- Experienced sellers looking to refine their search process
- Ready to take their product search to the next level
- Aims to maximize efficiency and profitability with advanced filtering options
How to Turn on the Advanced View?
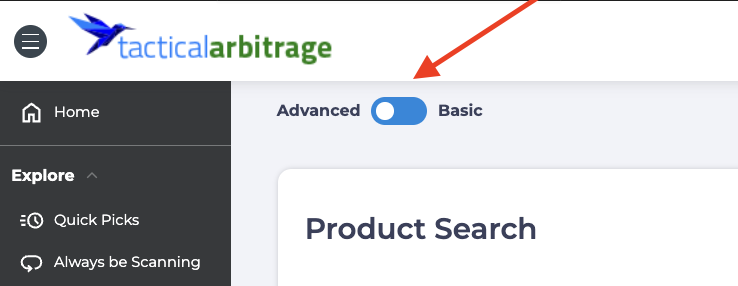
To display Advanced View on the Product Search page, click the toggle towards Advanced in the top left corner of your page.
Understanding the Product Search Setting
Before starting a scan, the first step is to customize the search settings located at the top of the Product Search panel. We’ll walk you through each option, step by step.
-
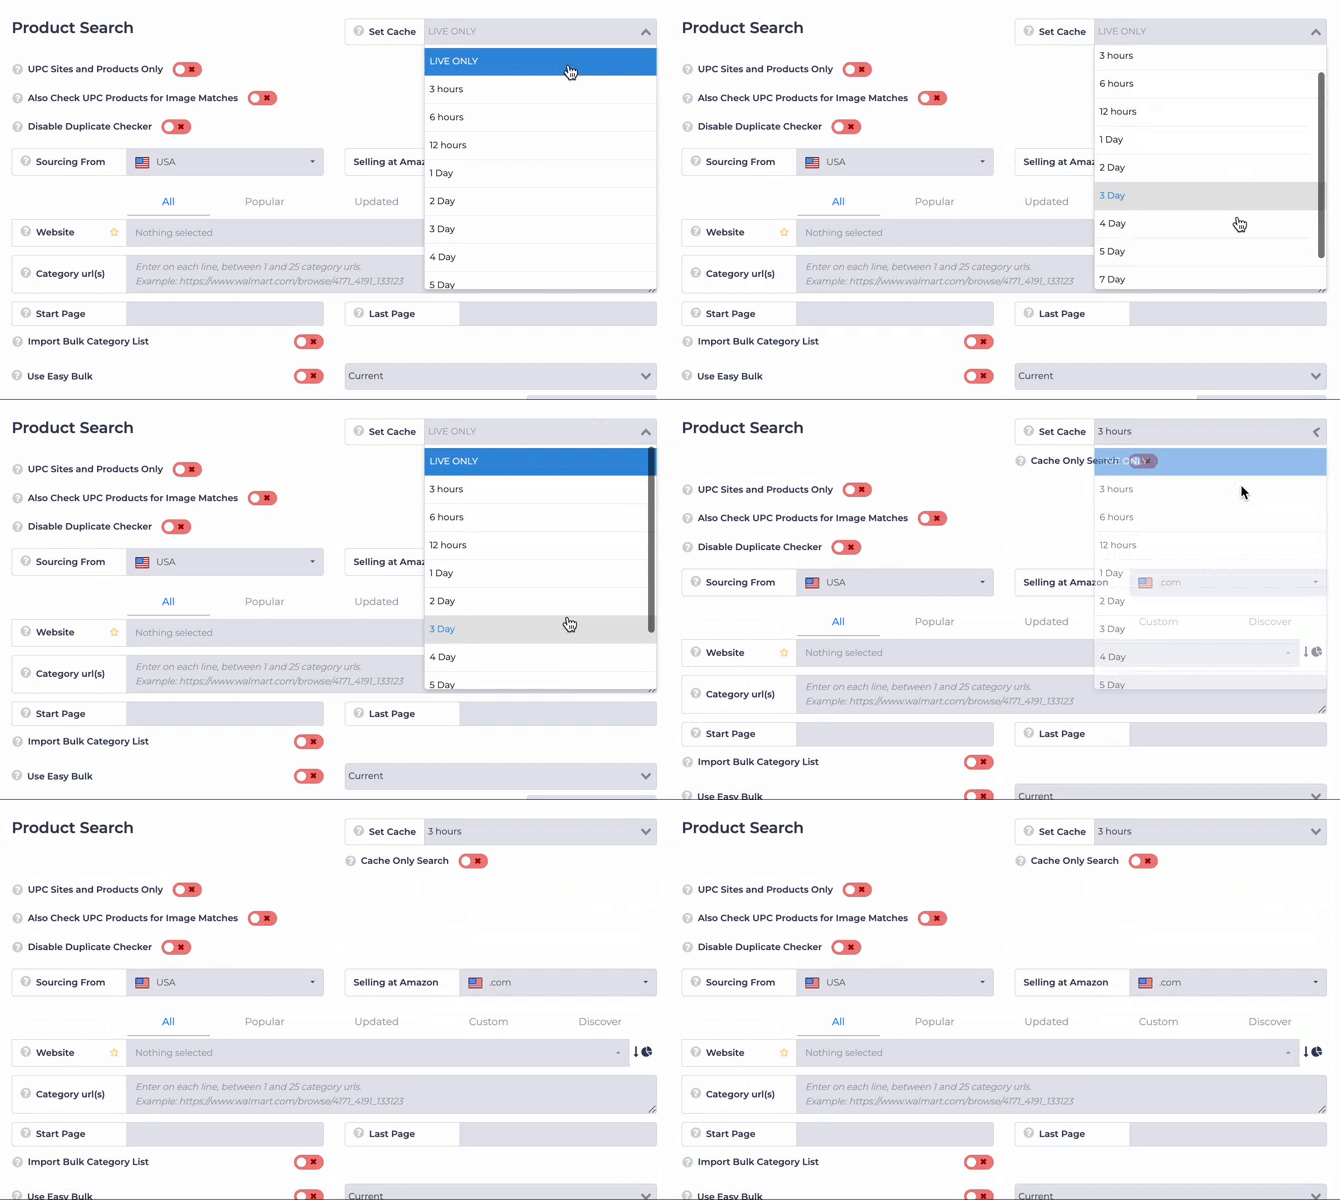
Set Cache
Cache is the stored data from past scans by all users in Tactical Arbitrage. Using cached data speeds up your scans so the longer the cache the faster your scans will be. On the other hand, live scans give more up-to-date info but take longer.
The key to using the Cache is that after your scans are finished, you can update the data on your View Results page, the page that shows the results of your Tactical Arbitrage search, to ensure you have the latest pricing and stock information. We recommend using a Cache period of 3 to 5 days for quicker search results. Once your search is done, click the Update All button on the View Results.
-
UPC Sites and Products Only
This switch changes the type of websites and products that appear in the search panel. Toggle ON to limit your search to websites and products with a UPC (Universal Product Code) that matches items on Amazon. Toggle OFF to include results that match product titles or images on Amazon.
-
Also Check UPC Products for Image Matches

Toggle ON this switch if you want the search tool to check image matches at Amazon for products missing UPC codes.
-
Disable Duplicate Checker
Use this to ignore duplicates check, which is used by default to skip the products you already have in your View Results.
If you enable this, you’ll notice the Delete Older Version if Duplicate Exist toggle appears.
Use this to remove duplicates, which are already in your View Results, before adding the fresh version.
-
Sourcing From and Selling At
You’ll then need to select the country from which you’ll source products. This choice determines the range of websites displayed in the Website panel. To make your selection:
1. Click the box next to Sourcing From to select the country you'll source from
2. Click the Selling At to specify where you’ll be selling the products
Setting these parameters allows you to tailor your sourcing and selling processes to align with your business needs and target markets.
-
Select your Website
 You’ve set up your broad filters on the Product Search page, and now it’s time to dive into the details. The next step is choosing a website to search and sourcing products.

Selecting Category
Once you’ve set your preferences, chosen your country, and selected a website, it’s time to focus on categories. In Tactical Arbitrage, a category isn’t just a name like books; it’s a URL for a page listing the products you want to search.
Here’s how to enter categories in the Product Search Advanced View:
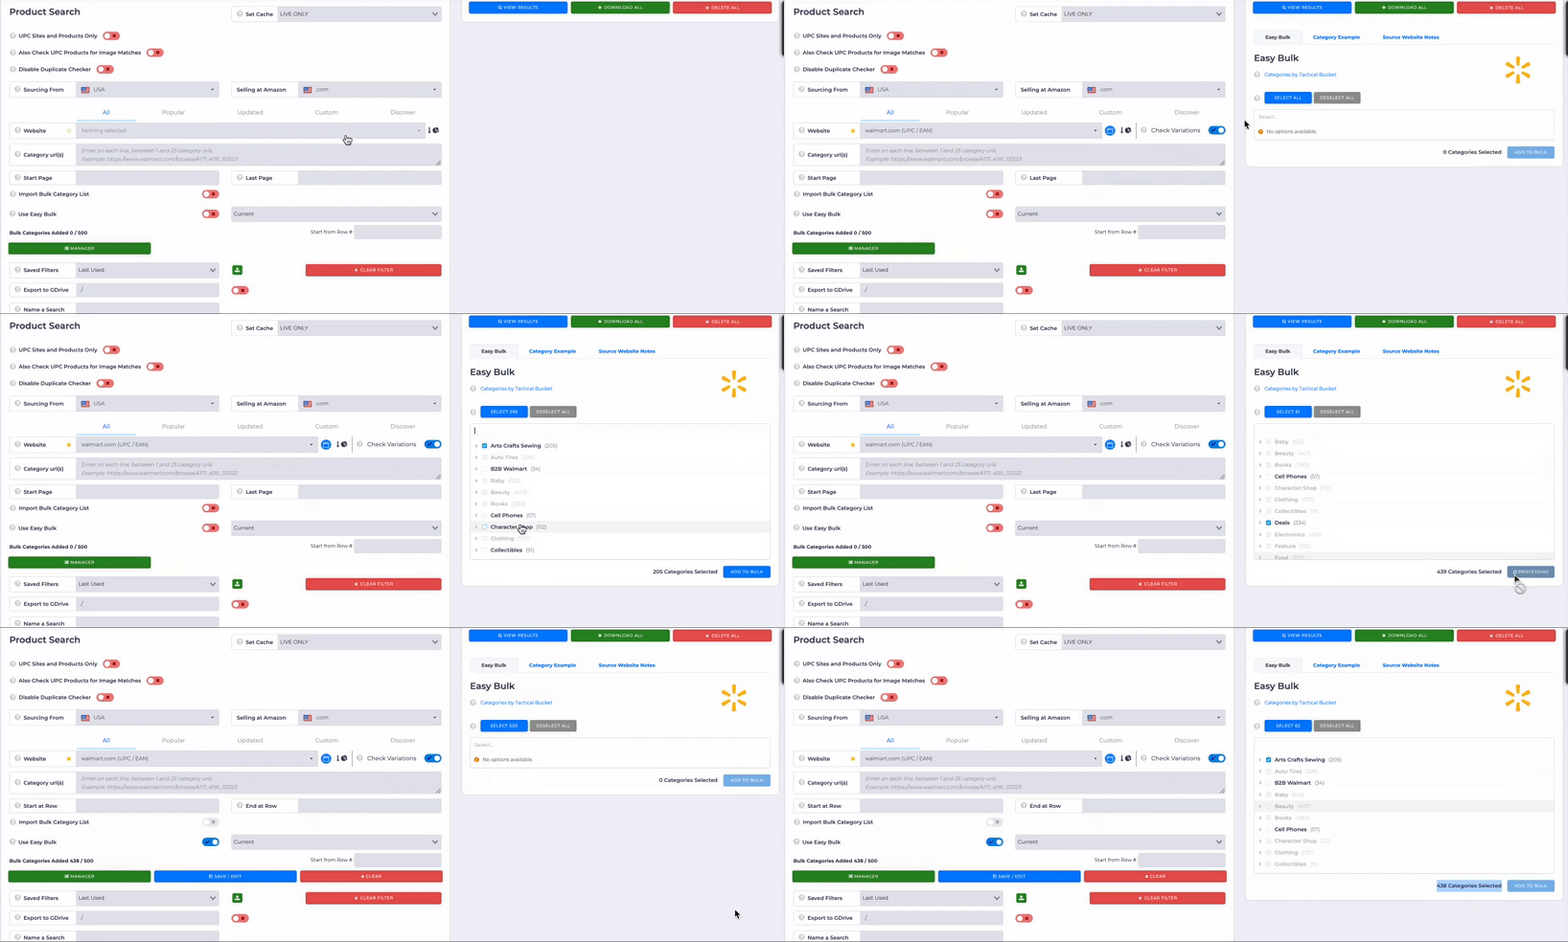
1. Easy Bulk
Use this feature to select up to 500 categories from those available in Tactical Arbitrage. This Easy Bulk tab will be available on the right side of your page once you select a website. Remember that you need to select and click Add To Bulk to be able to start a scan. If you missed that step, your search button will be unclickable.
2. Input Categories URL
This option allows you to enter the URL of a specific category page with the products you want to search. Refer to our Category Examples which you can find on the to ensure your URL is correct.
3. Import Bulk Category List
If you have a large number of categories to search, use this tool to import multiple category URLs at once. It’s a time-saver for handling hundreds of categories. For more information, see our Product Search: Import Bulk Category List article.
Start Page and Last Page
This signifies which search page in the category selected you would like to start and finish searching. For example, if you have already scanned pages 1-6, perhaps start with page 7.
You may leave this blank to automatically set this to start from Page 1 and to automatically stop scanning after it reaches the Last Page.
Filter Products
Scroll down to the bottom of the Product Search page and you'll find Filter Products. This is where you refine searches and find profitable products. Within this section, there are subsections that when opened will reveal the filters.
Each filter has its own potential benefits. However, we recommend using filters sparingly—or not at all—because you can always refine your results later on the View Results page.
Saving Filters and Named a Search
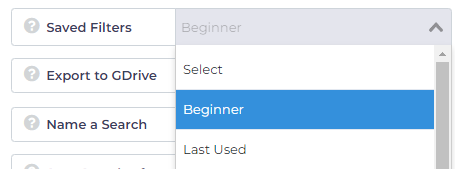
You’re almost ready to launch your search! While optional, saving your filter configuration can make future scans easier and help you find results in your View Results.
If you’re new to Tactical Arbitrage, start with the default Beginner filter setup, and as you gain experience, you can adjust the filters to suit your needs.
You can also name a search to make it easy to find on your View Results page.
Running a Search
The final step is to start a search. There are two search buttons on the page:
- There's a Search button at the bottom of the page.
- There's a Search button near the Use Saved Filters box.
Once you kick off your search, the real fun begins! Keep an eye on the progress in your Search History, and when you’re ready, dive into your treasure trove of results on the View Results page. Happy sourcing!
What's Next?
Want to learn how each filter works? Visit our list of articles below:


